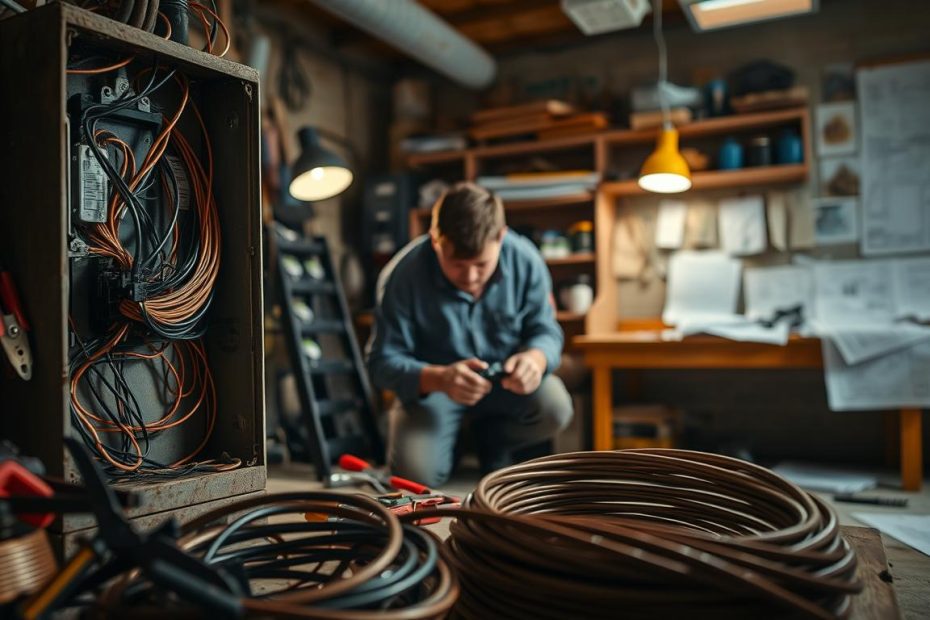
Updating your home’s electrical system is a significant undertaking that can greatly improve safety, increase property value, and support modern electrical demands. As homeowners, we’re often faced with the daunting task of navigating complex electrical work.
Our guide is designed to walk you through the process of rewiring your home, providing you with the knowledge and confidence to tackle this project. Whether you’re looking to upgrade your electrical system or simply want to understand the process, we’ll cover the essential steps and considerations involved in home electrical rewiring.
By the end of this guide, you’ll be well-equipped to make informed decisions about your home’s electrical infrastructure.
Why Your Home Might Need Rewiring
Outdated electrical wiring can lead to a multitude of problems, from minor inconveniences to serious safety hazards. As we continue to rely more heavily on electrical devices, the strain on older wiring systems becomes increasingly evident.
Warning Signs of Outdated Wiring
Identifying the warning signs of outdated wiring is crucial. These signs include flickering lights, warm outlets, and frequent circuit breaker trips. If you’re experiencing any of these issues, it may be time to consider rewiring your home.
| Signs | Description |
|---|---|
| Flickering Lights | Indicates inconsistent voltage supply |
| Warm Outlets | Sign of faulty or outdated wiring |
| Frequent Circuit Breaker Trips | Overloaded circuits or wiring issues |
Benefits of Modern Electrical Systems
Modern electrical systems offer enhanced safety, increased efficiency, and the ability to support more appliances. Upgrading to a modern system can also increase your home’s value.
DIY vs. Hiring Professionals
When it comes to rewiring, homeowners must decide between DIY rewiring and hiring professionals. While DIY can save on labor costs, it requires significant expertise. Hiring professionals ensures the job is done safely and correctly, but at a higher upfront cost.
Preparing for Your Rewiring Project
Before diving into your rewiring project, it’s essential to prepare thoroughly to ensure a smooth and safe process. This preparation phase is crucial for identifying potential issues and laying the groundwork for a successful rewiring project.
Creating an Electrical Plan
An electrical plan outlines the scope of your project, including the areas of the house that need rewiring, the type of wiring to be used, and any additional electrical components required. This plan helps in visualizing the project’s complexity and identifying potential challenges.
Gathering Tools and Materials
Once you have your electrical plan, the next step is to gather all the necessary tools and materials. This includes wires, junction boxes, outlets, switches, and any other components specified in your plan. Ensuring you have everything needed before starting the project can save time and reduce frustration.

Securing Permits and Understanding Codes
Securing the necessary permits is a critical step in your rewiring project. This involves understanding both the National Electrical Code requirements and local building department guidelines.
National Electrical Code Requirements
The National Electrical Code (NEC) sets the standard for electrical safety in the United States. Familiarizing yourself with the NEC requirements helps ensure your rewiring project meets national safety standards.
Local Building Department Guidelines
In addition to NEC requirements, your local building department may have specific guidelines that must be followed. Checking with your local authorities ensures compliance and avoids potential legal issues.
Essential Safety Precautions
Electrical safety is paramount when rewiring a house. Essential safety precautions include shutting off the main electrical supply before starting work, using insulated tools, and wearing protective gear. Ensuring your safety and the safety of others in the household is crucial.
Step-by-Step Process for Rewiring A House
A successful home electrical rewiring project depends on a thorough understanding of the steps involved. Rewiring a house is a significant undertaking that requires careful planning and execution to ensure a safe and functional electrical system.
Shutting Off and Removing Old Wiring
The first step in rewiring your house is to shut off the main electrical supply. This is a critical safety precaution to prevent electrical shocks or injuries. Once the power is off, you can begin removing the old wiring, taking care to document the existing wiring configuration for reference.
Installing Cable Runs and Junction Boxes
With the old wiring removed, the next step is to install new cable runs and junction boxes. This involves planning the most efficient routes for the cables and ensuring that all connections are secure and meet local electrical codes.
Connecting Outlets, Switches, and Fixtures
After installing the new cable runs, you can begin connecting outlets, switches, and fixtures. It’s essential to follow the manufacturer’s instructions and local electrical standards to ensure that all connections are safe and functional.
Setting Up the Electrical Panel
Setting up the electrical panel involves installing circuit breakers, grounding, and bonding the system.
Circuit Breaker Installation
requires careful selection and installation to ensure that the electrical panel can handle the load.
Grounding and Bonding
are critical for safety, providing a path to ground to prevent electrical shocks.
| Step | Description | Considerations |
|---|---|---|
| 1. Shut off main electrical supply | Ensure safety by turning off the main power | Verify that all power is off before starting work |
| 2. Remove old wiring | Carefully remove existing wiring, documenting the configuration | Take note of wire colors and connections for reference |
| 3. Install new cable runs and junction boxes | Plan efficient cable routes and secure connections | Ensure compliance with local electrical codes |
Understanding the rewiring cost and planning accordingly can help you budget for the project. Factors influencing the cost include the size of your house, the complexity of the wiring, and local labor rates.
Finalizing Your Rewiring Project
Now that we’ve completed the rewiring process, it’s time to ensure that our electrical system is working correctly and safely. We need to test the system thoroughly, verifying that all components are installed correctly and functioning as expected.
As we finalize our DIY rewiring project, we must prioritize electrical safety. This includes checking for any signs of damage or wear on the new wiring and ensuring that all connections are secure.
To comply with local regulations, we should also complete any necessary documentation or inspections. By following these steps, we can confidently enjoy a safer, more efficient electrical system in our home.
