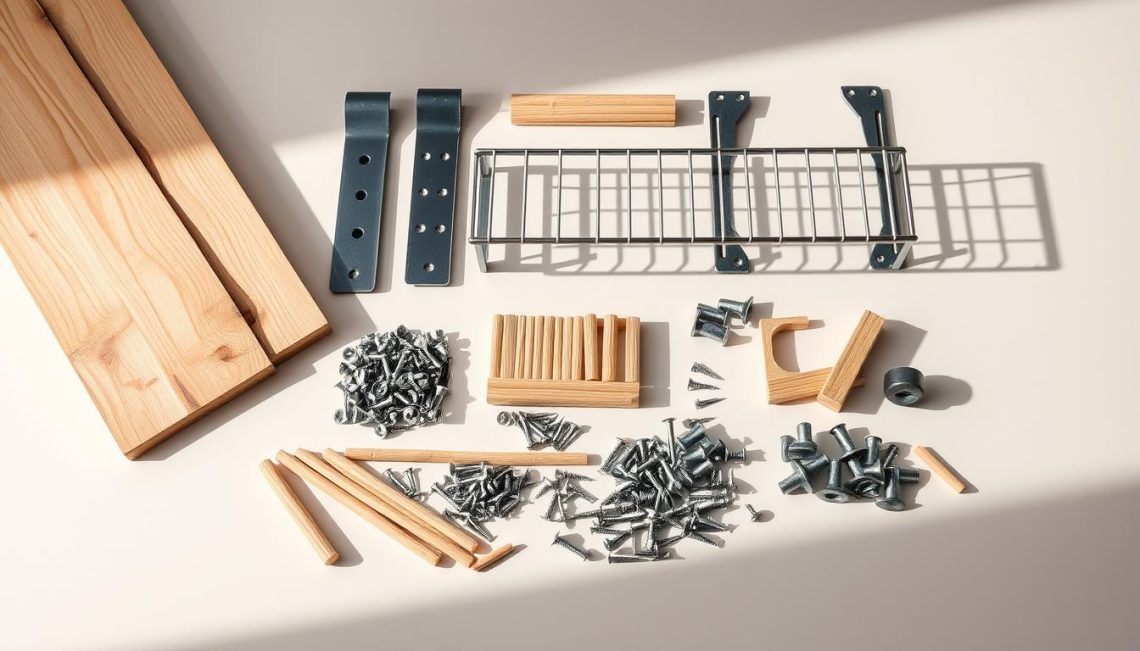
Are you tired of a cluttered and disorganized closet? We understand the importance of having a tidy and functional space. Our step-by-step guide on creating DIY closet shelving will walk you through the process of achieving your dream closet.
With our guide, you’ll learn how to maximize your closet’s potential, creating a more organized and clutter-free environment. By implementing these simple shelving ideas, you’ll be able to enjoy a more streamlined and efficient use of your space.
Let’s get started on this journey to a more organized you!
Planning Your Closet Shelving Project
The first step in creating your DIY closet shelving is to develop a comprehensive plan. This involves understanding your closet’s dimensions, your storage needs, and how to maximize your space efficiently.
Measuring Your Closet Space
Accurate measurements are crucial. We need to measure the width, height, and depth of your closet, including any obstructions like heating vents or electrical outlets. This ensures our shelving design fits perfectly and makes the most of the available space.
Determining Your Storage Needs
Next, we assess what we need to store. This could include clothes, shoes, accessories, or storage bins. By understanding our storage requirements, we can design a shelving system that meets our needs, keeping our belongings organized and easily accessible.
Sketching a Functional Design
With our measurements and storage needs in mind, we sketch a basic design. We consider the type of shelving, the material, and how it will be installed. A well-thought-out design ensures our DIY closet shelving project is both functional and aesthetically pleasing, enhancing our closet storage and overall DIY home improvement experience.
Materials and Tools for Basic DIY Closet Shelving
The success of your DIY closet shelving project depends on having the correct materials and tools. To ensure a smooth and efficient building process, we’ve outlined the essential items you’ll need to get started.
Complete Materials Shopping List
For a basic DIY closet shelving project, you’ll need materials such as 3/4-inch plywood or MDF for the shelves, 2×4 lumber for the frame, and decorative trim for finishing. We recommend purchasing materials that are durable and suitable for your closet’s specific needs.

Essential Tools You’ll Need
The right tools are crucial for a successful DIY project. You’ll need a tape measure, circular saw, drill, and impact driver to complete the task efficiently. Having these essential shelving tools on hand will make the building process much simpler.
Safety Equipment and Precautions
Safety should always be your top priority when working with power tools and building your DIY closet shelving. Ensure you have safety glasses, a dust mask, and proper ventilation to minimize risks.
Proper Ventilation and Dust Protection
To maintain a safe working environment, we emphasize the importance of proper ventilation and dust protection. Using a dust mask and ensuring good airflow in your workspace will help prevent inhaling dust and debris.
Step-by-Step Building Process
Now that we have our materials and tools ready, it’s time to dive into the step-by-step building process for our DIY closet shelving. This process involves several key steps that will help us create a functional and stylish storage solution.
Preparing Your Closet Space
Before we start building, we need to prepare our closet space. This involves clearing out the area, removing any existing shelving or clutter, and ensuring the floor is clean and dry. A well-prepared space makes the building process smoother and more efficient.
Locating and Marking Wall Studs
To securely install our shelving, we need to locate the wall studs. Using a stud finder, we identify the studs and mark their locations on the wall. This step is crucial for ensuring our shelves are firmly attached and can support the intended weight.
Installing Support Brackets
With the wall studs marked, we proceed to install the support brackets. These brackets will hold our shelves in place, so it’s essential to secure them firmly into the wall studs. We use a level to ensure the brackets are straight and evenly spaced.
| Task | Tools Needed | Tips |
|---|---|---|
| Locating Wall Studs | Stud Finder | Mark stud locations clearly |
| Installing Brackets | Drill, Level | Ensure brackets are level and securely fastened |
| Cutting Shelves | Circular Saw, Measuring Tape | Measure twice, cut once |
Cutting Shelves to Size
Next, we cut our shelves to the required size. Using a circular saw and measuring tape, we carefully measure and cut the shelves, ensuring they fit perfectly within our closet space.
Mounting and Securing Shelves
With our shelves cut to size, we mount them onto the installed brackets. We ensure the shelves are level and securely fastened, providing a sturdy storage solution.
“The right preparation and attention to detail make all the difference in a successful DIY shelving project.”
Troubleshooting Common Issues
Even with careful planning, issues can arise. Common problems include uneven shelves or brackets that aren’t securely fastened. We troubleshoot these issues by double-checking our measurements and ensuring all parts are securely attached.
By following this step-by-step building process, we can create a beautiful and functional DIY shelving system that enhances our closet’s storage capabilities.
Making the Most of Your New Shelving
Now that you’ve completed your basic DIY closet shelving project, it’s time to enjoy the benefits of your newly organized space. Effective closet organization is all about maximizing your storage capacity while maintaining a clutter-free environment.
To get the most out of your new shelving, consider implementing shelving ideas that promote easy access and visibility. You can use baskets or bins to store items like socks, accessories, or out-of-season clothing, keeping them out of the way yet still accessible.
As you continue to enjoy the fruits of your DIY home improvement labor, remember to maintain your newly organized closet. Regularly tidy up and adjust your shelving as needed to ensure your space remains functional and clutter-free.
By following these simple tips, you can enjoy a more organized, stress-free closet that makes your daily routine easier. Happy organizing!
