Are you looking for a simple and affordable way to enhance your home’s interior? We have just the solution: DIY board and batten. This easy home improvement project can transform any room without breaking the bank.
DIY board and batten is a cost-effective way to add some character to your walls. It’s a cheap DIY project that requires minimal materials and can be completed over a weekend. By following our guide, you’ll be able to achieve professional-looking results without the hefty price tag.
We will walk you through the process, providing you with the necessary steps and tips to make this project a success. With our guidance, you’ll be able to enjoy a beautifully renovated space, all while keeping costs low and having fun with an easy home improvement project.
Why Board And Batten Is The Perfect Weekend Project
If you’re looking for a DIY project that’s both easy and impactful, consider board and batten wall decor. This simple yet stylish upgrade can be completed over a weekend, making it an ideal choice for homeowners looking to refresh their space without breaking the bank or dedicating too much time.
The Dramatic Visual Impact On Any Room
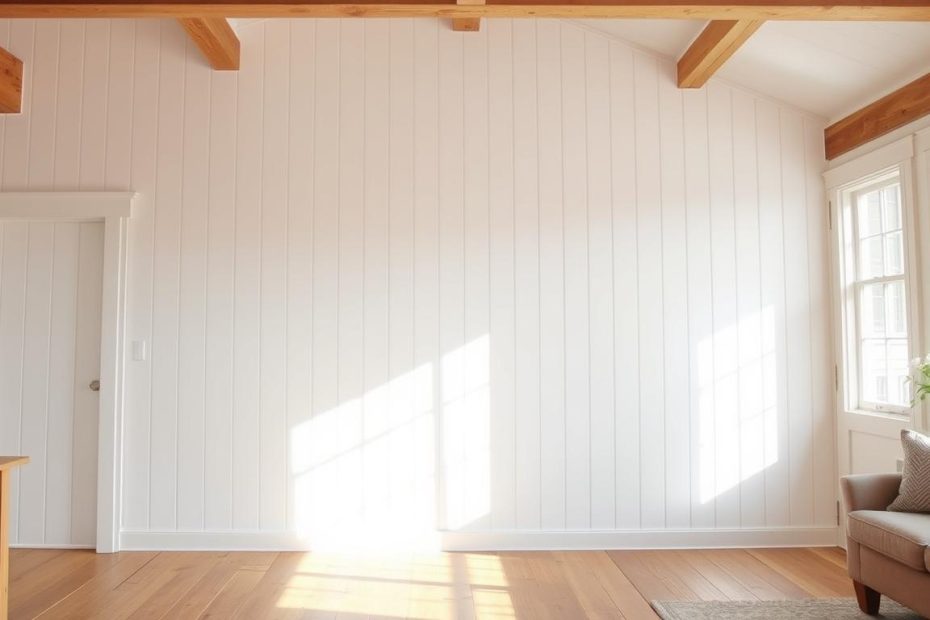
Board and batten installation can dramatically enhance the visual appeal of any room. By adding vertical boards and battens, you create a striking contrast that draws the eye upward, making ceilings appear higher and rooms more spacious. This DIY wall decor technique is particularly effective in hallways, stairwells, and bedrooms, where it can add a touch of elegance and sophistication.
How Much Money You’ll Save With DIY
One of the most compelling reasons to tackle a board and batten project yourself is the potential for cost savings. By taking on the installation yourself, you can save money on labor costs, which can be a significant portion of the overall expense. With careful planning and budgeting, you can achieve a high-end look for a fraction of the cost, making it an excellent choice for those on a budget looking to achieve a home renovation on a budget.
The Cheapest And Easiest DIY Board And Batten Materials List
Creating a beautiful board and batten wall doesn’t have to break the bank. With a little planning, you can achieve a stunning look without overspending. The key is to select the right materials and tools for your project.
Budget-Friendly Wood Options Under $100
For a budget-friendly DIY board and batten, consider using affordable wood options. You can find suitable materials at your local hardware store or home improvement center. Here are some cost-effective choices:
| Material | Cost |
|---|---|
| Pine Wood | $30-$50 |
| MDF Board | $20-$40 |
| Poplar Wood | $40-$60 |
These options can help keep your home improvement costs in check.
Tools You Already Have Or Can Borrow
Before buying new DIY tools, take stock of what you already have in your toolkit. You might be surprised at what you can reuse or borrow from friends. Essential tools for your DIY board and batten project include a level, a drill, and a measuring tape.

Step-By-Step Wall Preparation
Proper wall preparation is the foundation of a beautiful and long-lasting board and batten installation. It’s a process that requires patience, attention to detail, and the right techniques. By following these steps, you’ll be able to achieve a professional-looking finish.
Measuring Your Space Accurately
To start, measure your wall’s dimensions accurately, taking note of any obstructions like electrical outlets or windows. Use a tape measure to record the width and height of your wall, and double-check your measurements to avoid errors. Accurate measurements are crucial for a successful installation.
Creating Your Board Layout Plan
With your measurements in hand, create a board layout plan. Decide on the spacing and arrangement of your boards, considering the visual impact you want to achieve. You can use graph paper or a digital tool to sketch out your plan, ensuring that it’s both aesthetically pleasing and functional.
Removing Baseboards And Prepping Walls
Before installing your board and batten, remove the baseboards and prep the walls. This involves cleaning the walls, fixing any holes or cracks, and ensuring the surface is smooth and even. Removing baseboards will also give you a clean slate for your installation.
Marking Stud Locations For Secure Installation
Finally, mark the stud locations on your wall to ensure a secure installation. Use a stud finder to locate the wall studs, and mark their positions with a pencil. This step is critical for attaching your boards securely, providing a sturdy base for your board and batten.
Getting Ready For Part Two: Installation Tips
We’ve covered the basics of board and batten, from its dramatic visual impact to the budget-friendly materials you can use. Now, it’s time to prepare for the installation process. To ensure a smooth DIY project planning experience, make sure you’ve measured your space accurately and created a detailed board layout plan.
As you get ready to start installing your board and batten, keep in mind the importance of secure installation. Marking stud locations is crucial for a sturdy and long-lasting finish. By following these home improvement advice tips, you’ll be well-prepared to tackle the installation process with confidence.
With your walls prepped and your plan in place, you’ll be ready to move on to the installation phase. In the next part, we’ll dive into the nitty-gritty of board and batten installation tips, including how to handle tricky corners and ensure a seamless finish.