Welcome to our journey with Rub N Buff, a game-changing crafting product. It has transformed how we decorate our homes. With many color choices, it’s great for all sorts of DIY projects.
Let’s explore how Rub N Buff’s metallic finishes can make our furniture and decor shine. It adds style and elegance to our living spaces.
Join us as we share our experiences with Rub N Buff colors. See how they can change the look of any room in your home. Get ready to discover the beauty and functionality of this amazing product!
Exploring the Best Rub N Buff Colors for Our Decor
Choosing the right Rub N Buff colors is key for our home decor. We start by understanding what we like and how colors affect us. We think about our decor and the mood we want to create.
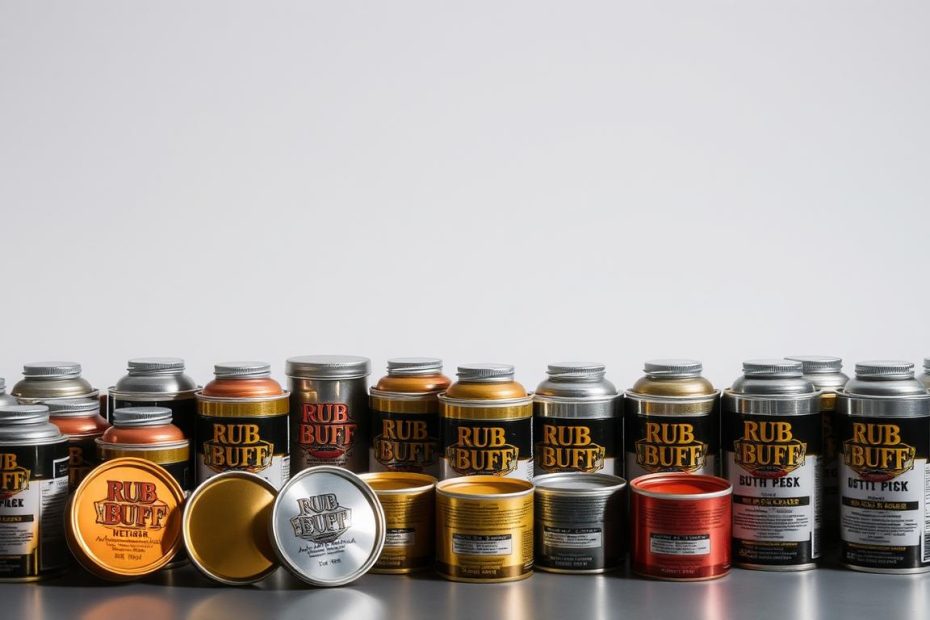
Choosing the Right Color for Your Project
Choosing a color is a big decision. We consider light, furniture, and what we like. Colors like Antique Gold add luxury, while Silver Leaf brings a modern feel.
We try different colors to see how they match our decor. This helps us create amazing changes.
How Different Colors Transform Our Spaces
Colors can change our spaces in big ways. Warm colors like Red Bronze make us feel cozy. Cool colors, like Patina, bring calm.
Using these colors can make cold areas feel warmer. This makes our homes feel more welcoming.
Mixing and Matching Colors: What Works
Mixing colors is fun and challenging. We’ve tried many combinations to find the best ones. For example, Gold Leaf and Pearl White together look amazing.
Learning about color combinations makes our decor better. It lets us show our style through our choices.
Rub N Buff Colors Tried And Tested: Our Personal Experience
Using Rub N Buff has changed how we do DIY projects. We tried different colors and found great ways to apply it. This made our projects look amazing and last long.
Application Techniques We Found Effective
We used many tools and methods to apply Rub N Buff. Here are some of our top picks:
- Using a soft cloth, we applied a small amount of product, ensuring even coverage.
- A foam brush helped create smoother strokes, which improved finish quality.
- For intricate areas, we found a small artist brush invaluable in delivering precision.
- Working in thin layers allowed us to build depth while reducing the risk of uneven texture.
Durability and Finish: What to Expect
Our projects with Rub N Buff showed that the colors last well in different conditions. We noticed that:
| Condition | Surface Type | Duration Before Fading | Finish Quality |
|---|---|---|---|
| Indoor Use | Wood | 2+ years | Consistent sheen, no discoloration |
| Outdoor Use (Protected) | Metal | 1+ year | Minimal fading, slight patina development |
| High-Traffic Area | Furniture | 1 year | Good durability, some wear visible |
The finish quality stayed high, making us confident in using Rub N Buff for many projects. These tips are great for anyone wanting professional-looking DIY results.

Tips for Getting the Most Out of Rub N Buff Products
To make our DIY projects stand out, we’ve learned some key Rub N Buff tips. First, it’s important to prepare the surface well. We clean it thoroughly to remove dust or grease before applying. This ensures an even finish and makes the color last longer.
Also, using soft cloths for buffing is a great tip. It gives a polished look that really highlights the color. This makes our projects look amazing.
Keeping the finish in good shape after application is also crucial. We clean it with a damp cloth regularly to keep it looking great. Avoid harsh chemicals that can dull the finish. Instead, use gentle cleaners to keep our decor looking fresh.
These tips help protect our projects and make the product last longer. By following these best practices, we can enjoy our DIY projects even more.
Exploring creative uses for Rub N Buff has been exciting. We’ve used it to frame art and refresh cabinet hardware. The possibilities are endless. Storing leftover product in an airtight container keeps it fresh for future projects.
By embracing these DIY decor tips, our approach to home embellishments has changed. Each project is now more enjoyable and rewarding.